In the previous posts, we installed the Sitecore on the cloud. In this one, we will address the installation via SIA (Sitecore Install Assistant) in a local environment, specifically on-premise. I will share some requirements that we can find in the installation documentation. Throughout the post, I will provide more details on additional prerequisites that need to be met for a successful installation. In this article, we will install Sitecore XM scaled. In the previous post, I installed a single instance on the cloud. Let’s now go through the basic prerequisites.
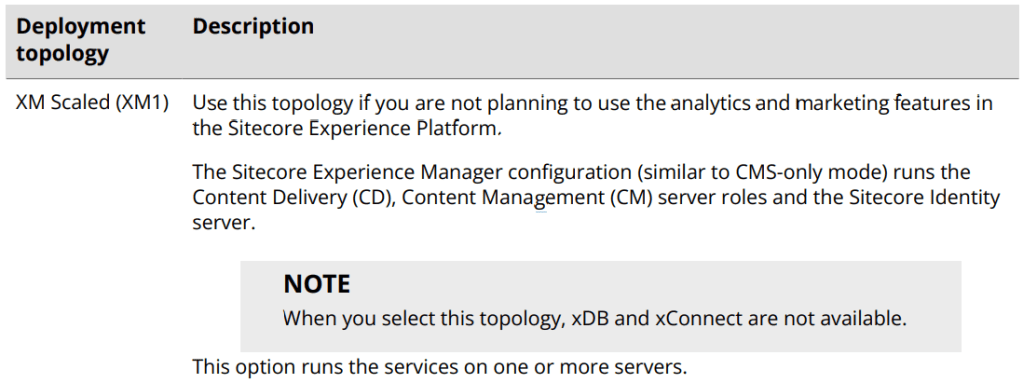
Why did I choose to install XM?
Hardware requirements

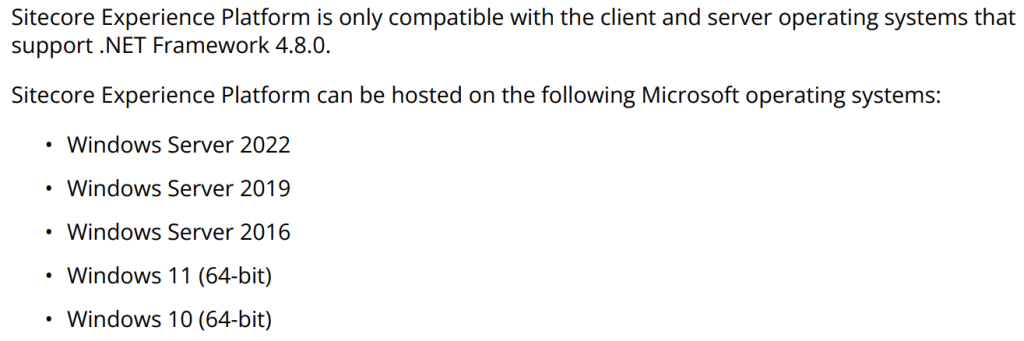
Operating system requirements
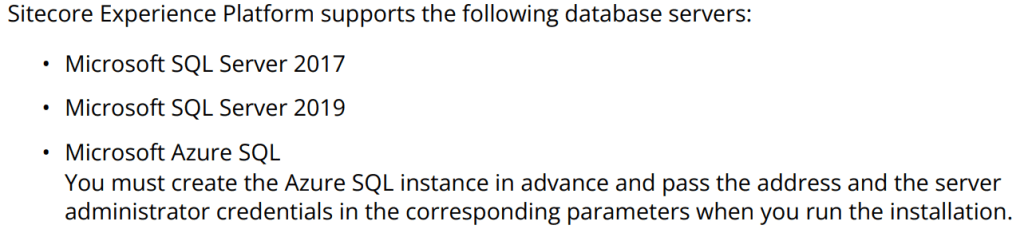
Database requirements
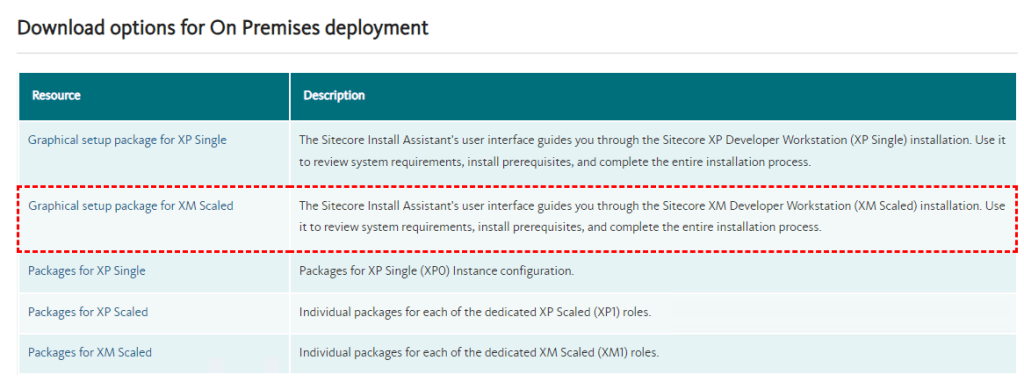
Download Graphical setup package for XM Scaled
After downloading, I extracted the file, opened the extracted folder, and click on setup file.
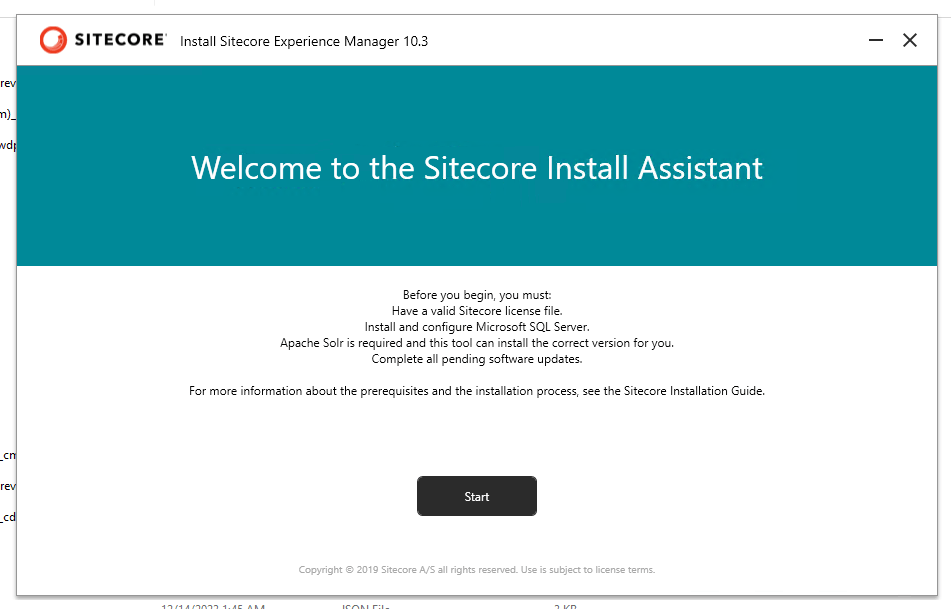
On the initial screen, click the Start button.
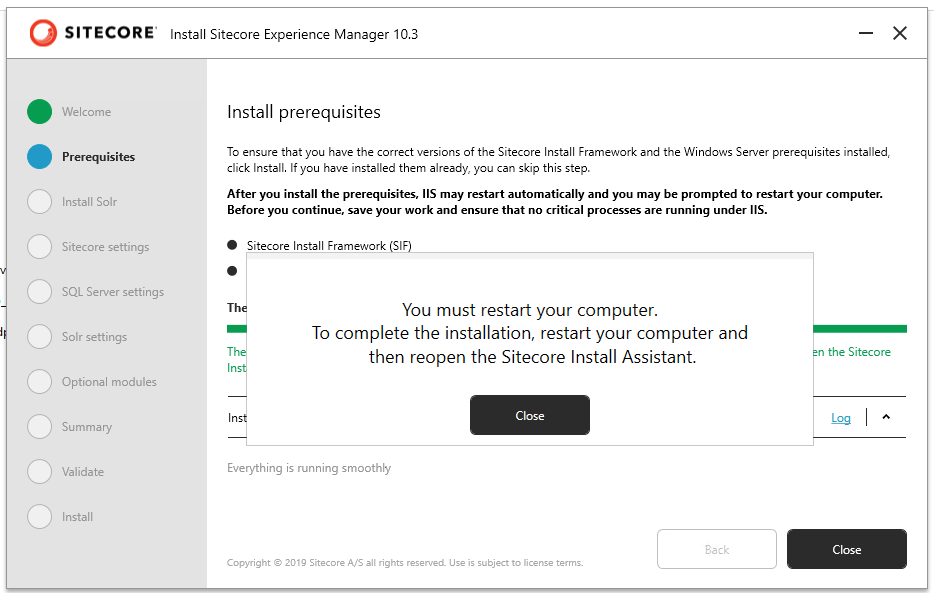
On the Prerequisite screen, click the Install button.

The installation of prerequisites will begin.

This step of the installation of diverse components, including .Net Framework 4.8.0, necessary Windows Server prerequisites, including IIS, and other essential modules.
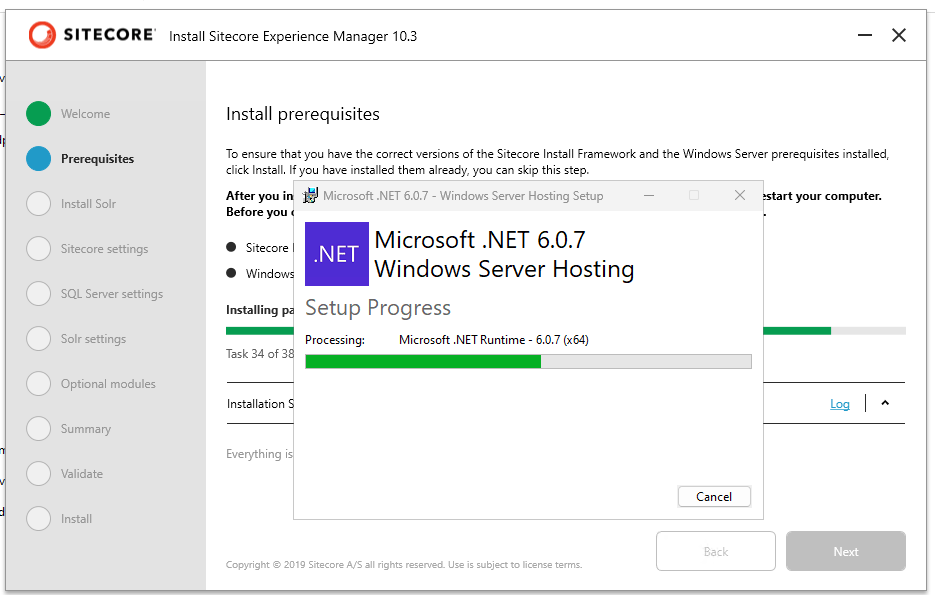
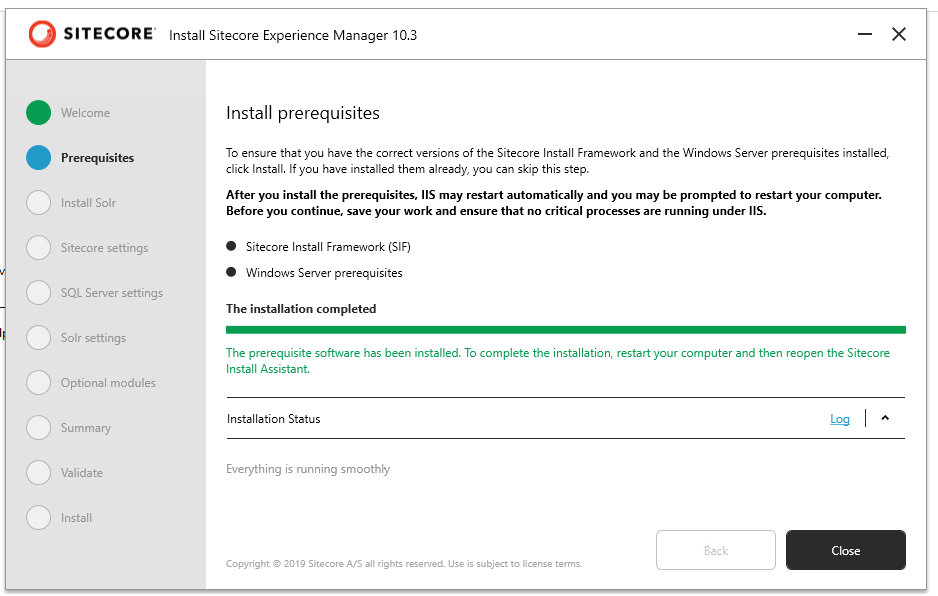
After that, it will be necessary to restart the computer.
The next step will be to install Solr.
Click on the setup again and proceed until you reach the Install Solr search service screen.
Define the required information for the Solr search service.
This step will kick off the installation of Solr on your system.
Solr Port: 9090, I don’t like use default port.
Windows Service and Path Prefix: gsd-solr –
I use the default path C:\Solr (Feel free to explore and select your preferred path)
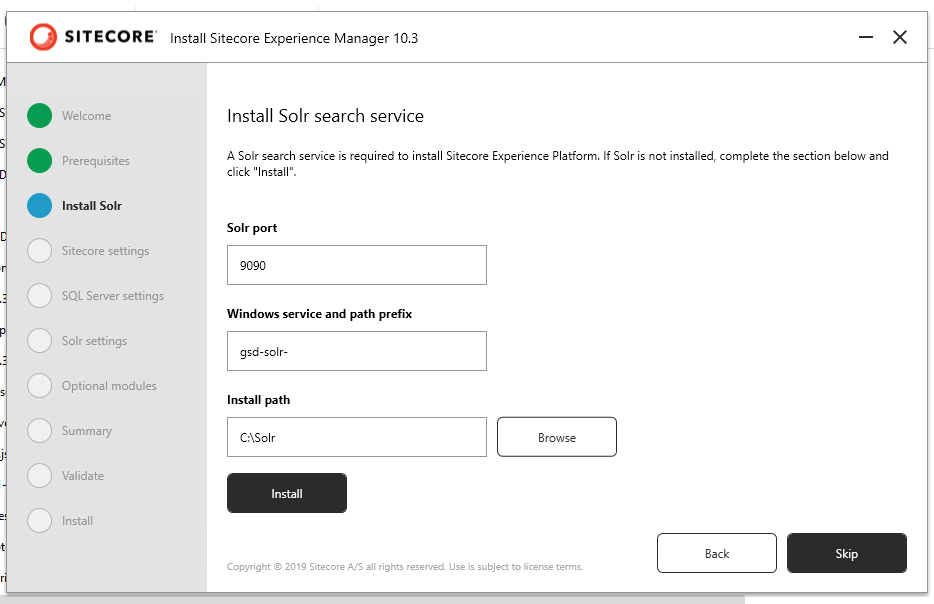
To proceed click on Install.
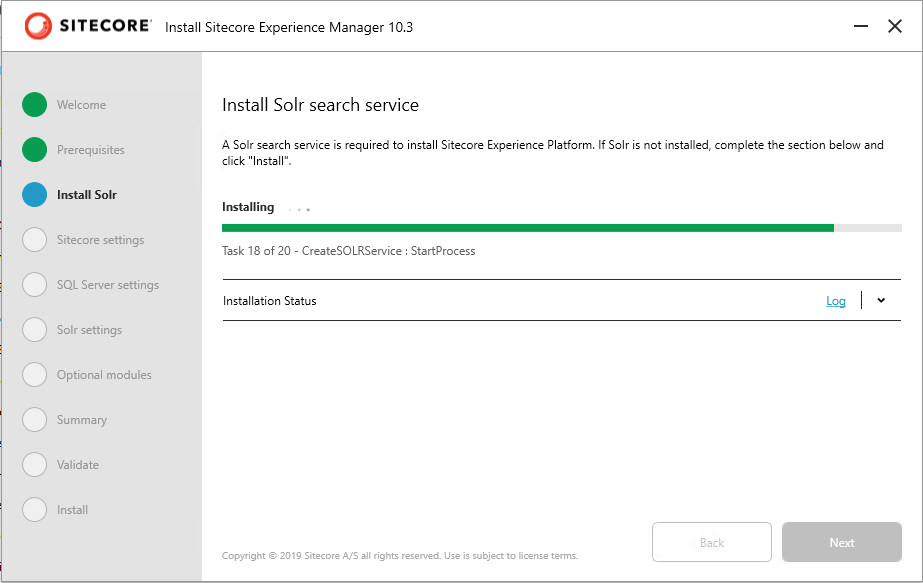
When the Solr installation is complete, Click Next.
Enter the Sitecore settings:
- Installation Prefix: Title of the Sitecore instance
- Admin Password: ‘b’
- For license information, look this post How to get your License Sitecore Partner.
Choosing Next.
Enter the details for the SQL server and move forward by clicking Next.
- SQL Server Name: (local) or your SQL server name.
- Microsoft SQL Server Admin User Name: sa
- Microsoft SQL Server Admin Password: The password you set to user ‘sa’.
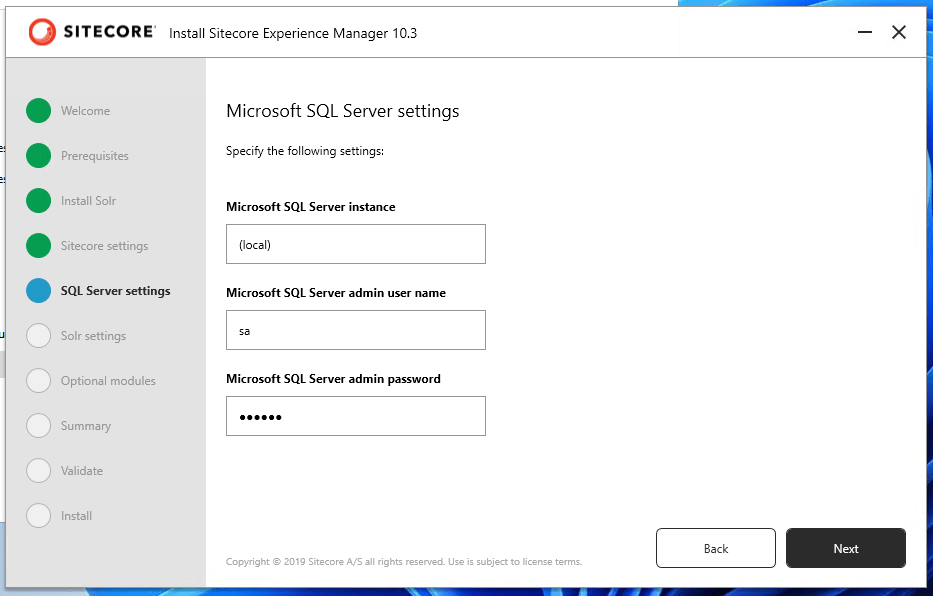
Click Next.
The Solr configurations will be filled in.

Click Next.
I chose not to install SXA.
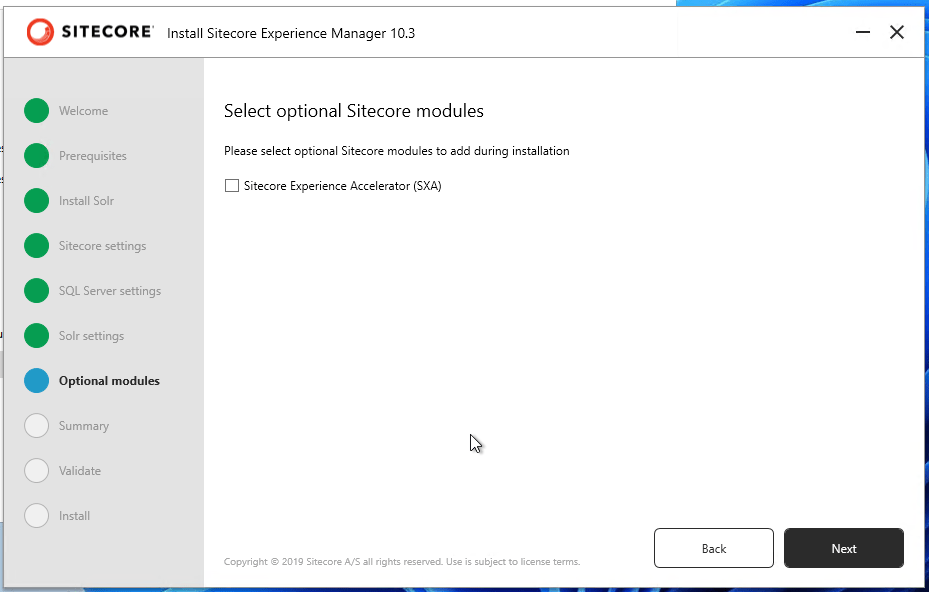
Click Next.

Click Next.
Step validation.
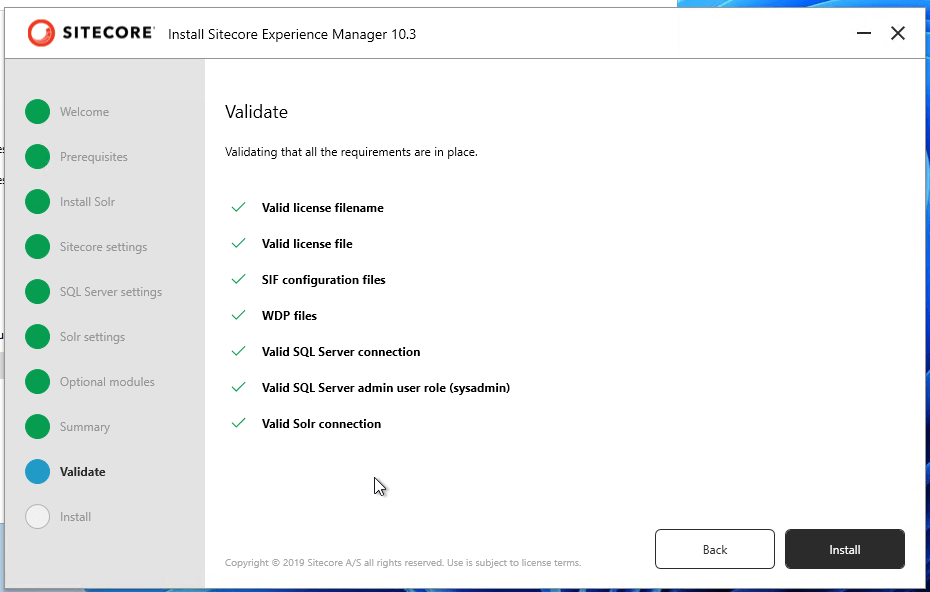
In the validation step, if everything is okay, click Next.
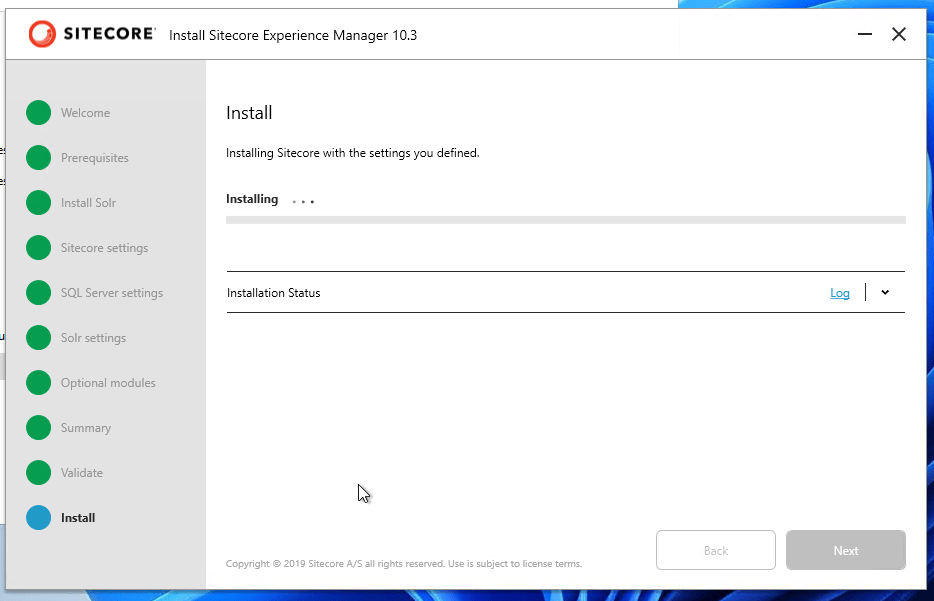
The installation will begin.
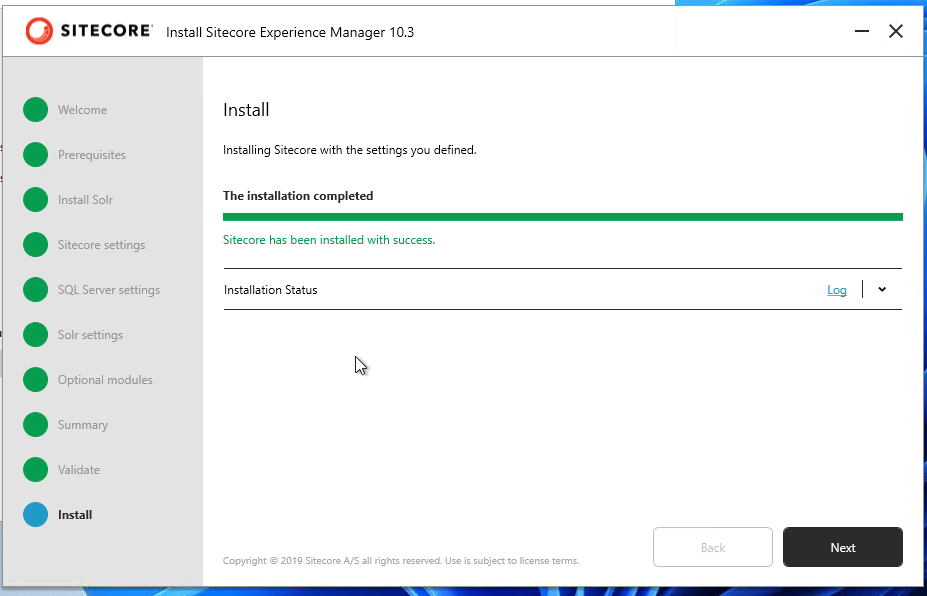
If everything went well with your installation, just click on Next.
Now, Click on Launch Sitecore.
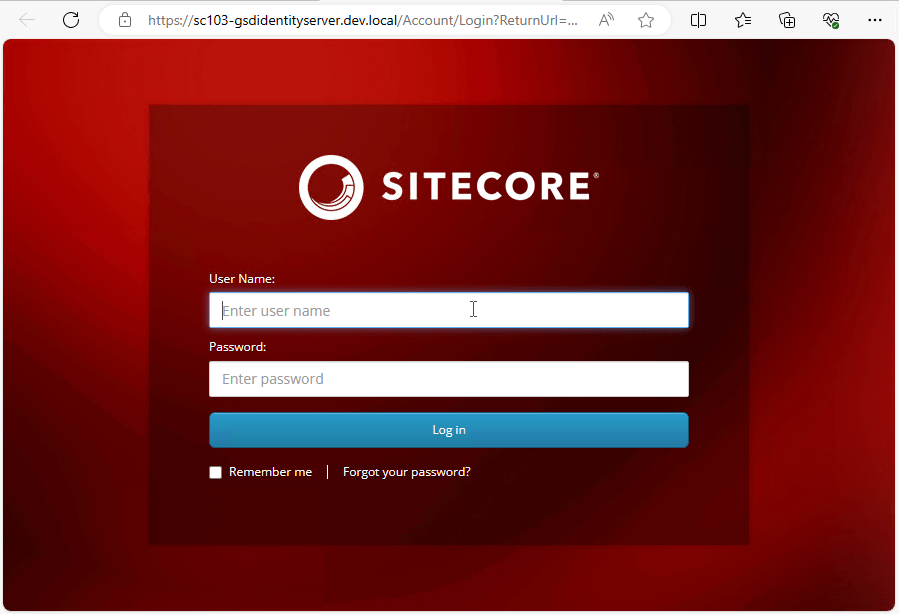
Log in with your username and password
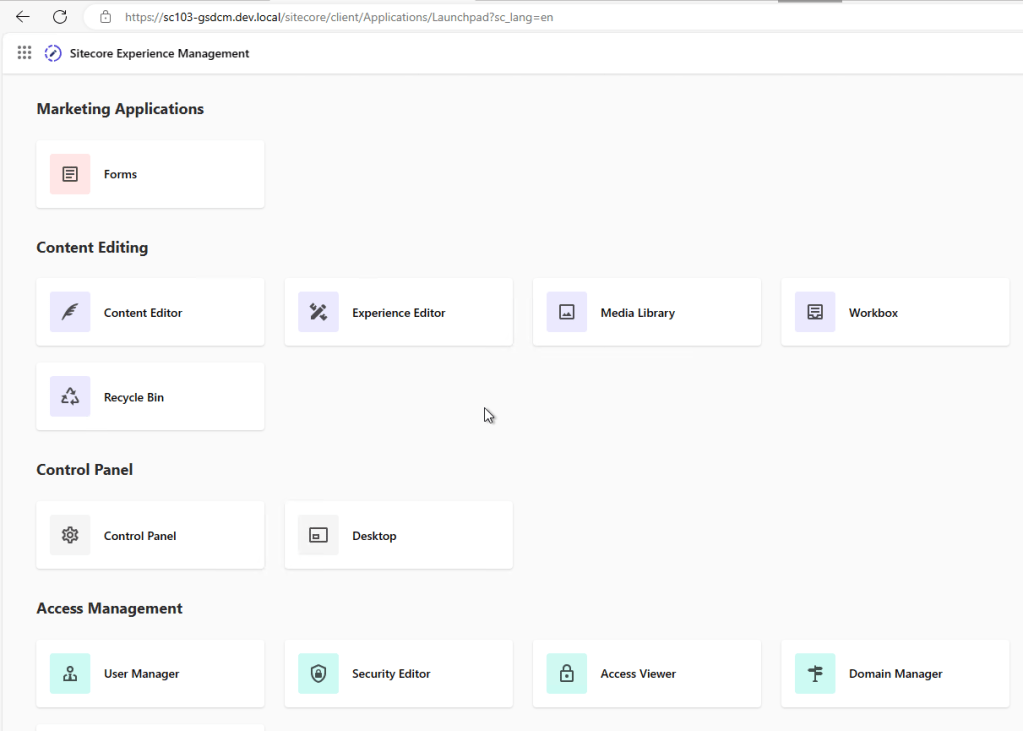
There you go, installation completed, and Sitecore is up and running. That’s it for today.

Deixe um comentário