Azure (PaaS) implementations. In this post, we’ll guide you through the process of setting up the Solr service version 8.4.0 on Azure App Service for Sitecore 10.
Let’s begin by creating our App Service; to do this, open your Azure portal.

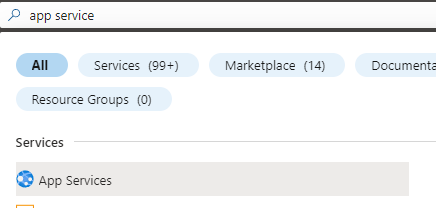
In the search bar, look for App Service, then click on App Service.
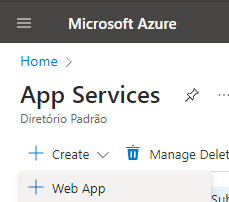
Select Create -> Web App
Select your Subscription and Resource Group, define a name for your instance. In the Publish section, choose Code. For the Runtime Stack, select JAVA, OS Windows, and finally, for the Region, I chose Brazil.

Click on Review + create.
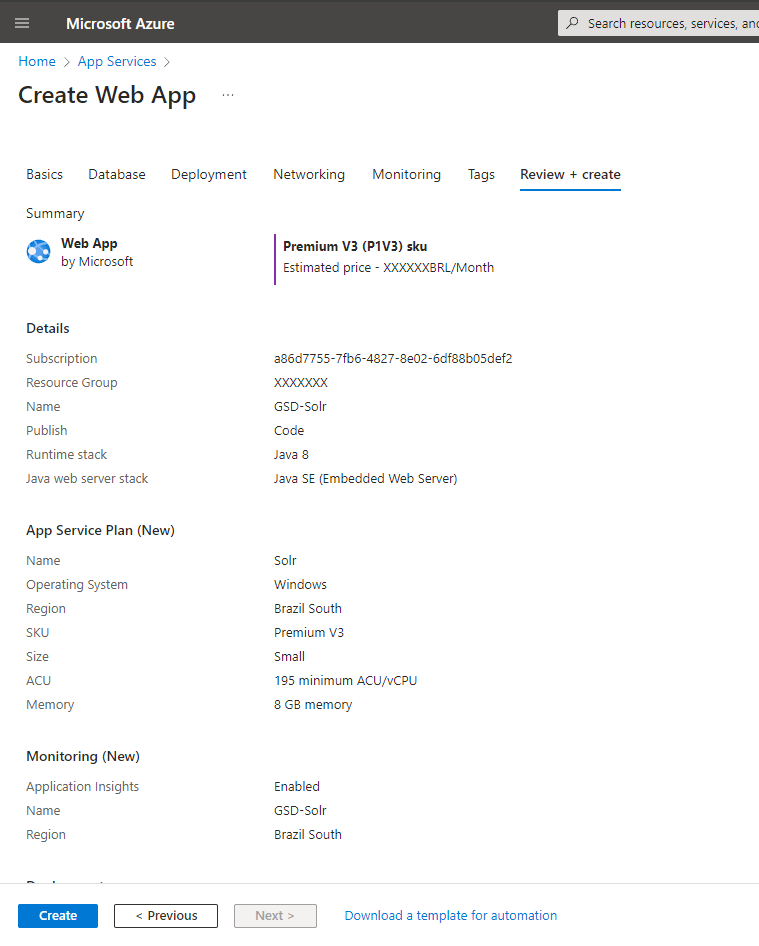
Review the settings, and if everything looks correct, click on Create.
Now, let’s download Solr version 8.4.0, as we’ll be using this instance with Sitecore 10. Download the zip file from the following link: Solr-8.4.0
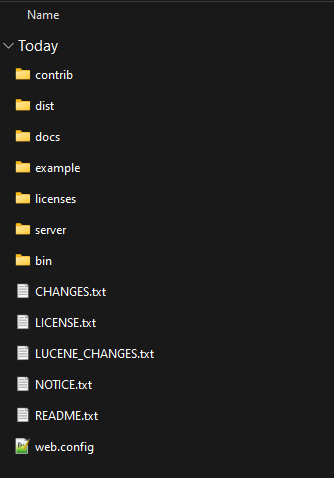
After the download is complete, unzip the file.
Next, include the web.config file at root of extration. For more information, refer to the Solr documentation Installing Solr 8.4 .
Download this file and add it to the root of your Solr extraction.
Now, let’s deploy Solr. This step is simple, we’ll do it using FTP.
In your Azure Web App, select Deployment Center, and then choose FTP Credentials.
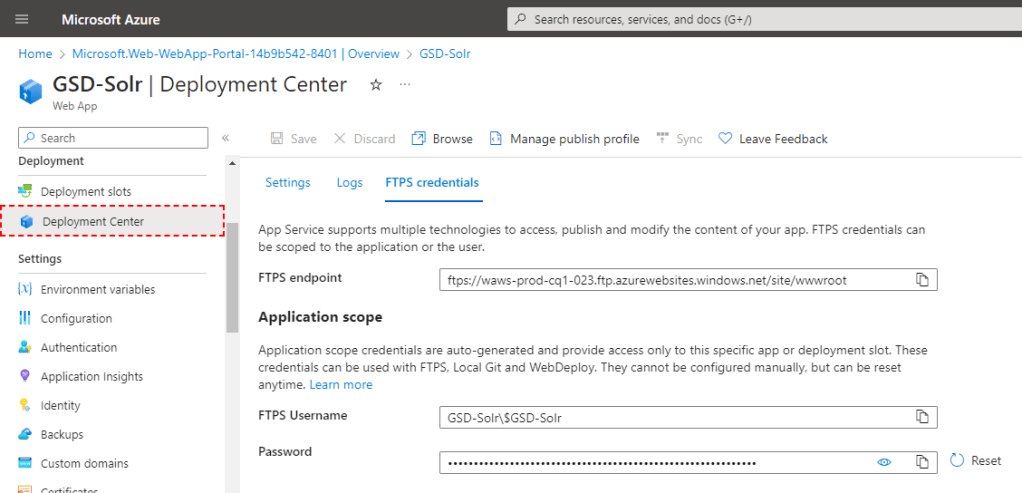
Utilize FTP to transfer the local Solr files to the web root of the App Service. Copy the FTPS endpoint, along with the username and password.

Next, employ any FTP tool like FileZilla to transfer the local Solr files to the /site/wwwroot directory of the Web App.
After copying all the files, restart the App Service.
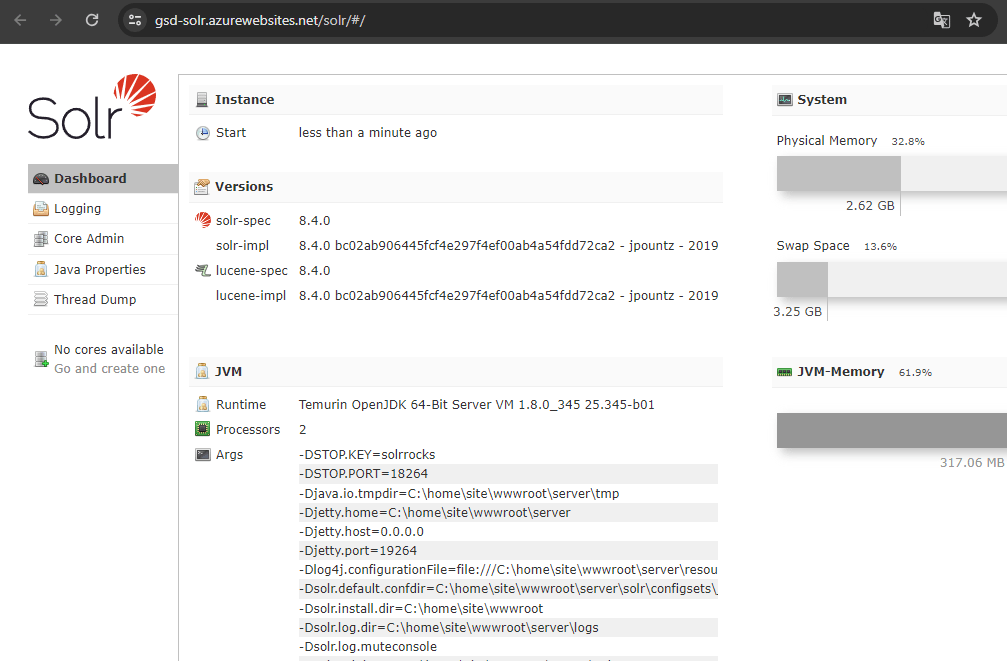
Navigate to the Web App URL, where you’ll encounter the Solr Dashboard, and you can now utilize this Solr instance for indexing in Sitecore.
That’s all, folks!

Deixe um comentário