Sitecore Command Line Interface (CLI) allows console communication with a Sitecore instance.

Here are the steps to install Sitecore CLI(Command Line Interface) and items serialization:
- Install Sitecore Management Services in CM instance.
Download Sitecore Management Services from here and follow the installation guide.
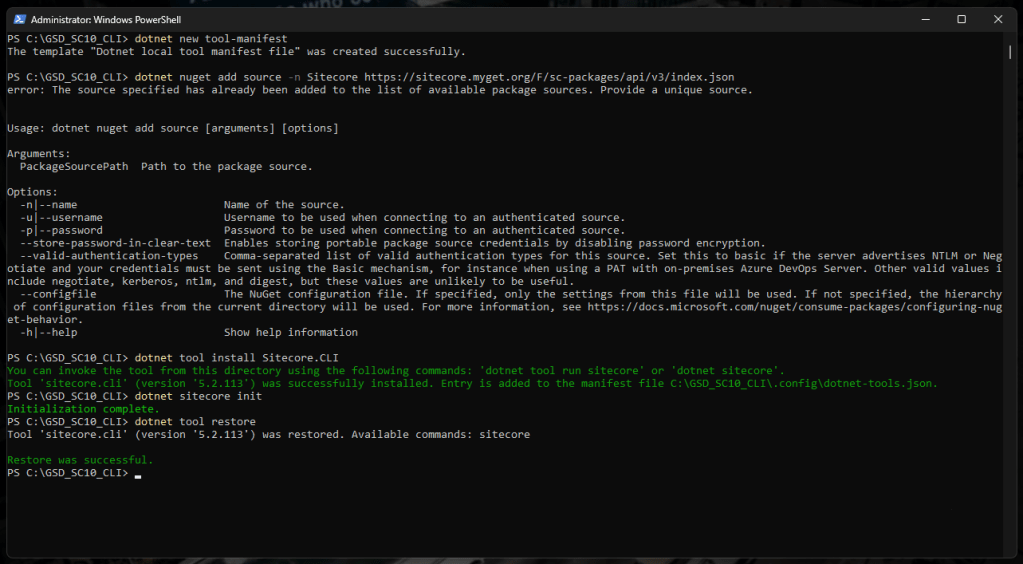
- Open the Windows PowerShell as Administrator and run the following commands.
dotnet new tool-manifest
dotnet nuget add source -n Sitecore https://sitecore.myget.org/F/sc-packages/api/v3/index.json
dotnet tool install Sitecore.CLI
dotnet sitecore init
dotnet tool restore
Install the required Publishing and Serialization plugins
dotnet sitecore plugin add -n Sitecore.DevEx.Extensibility.Serialization
dotnet sitecore plugin add -n Sitecore.DevEx.Extensibility.Publishing
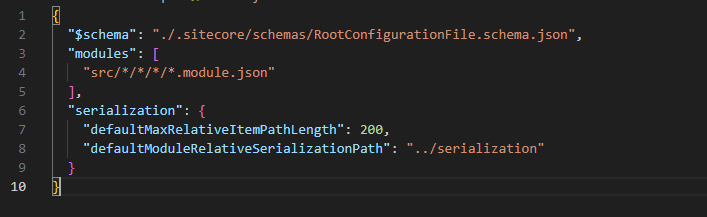
Navigate to sitecore.json to configure the file paths for Modules and Serialization yml files to accurately represent their respective locations. The sitecore.json file outlines the locations of module config files and serialization yml files, and it’s crucial to align them with the specific folder location where the Sitecore CLI is executed.

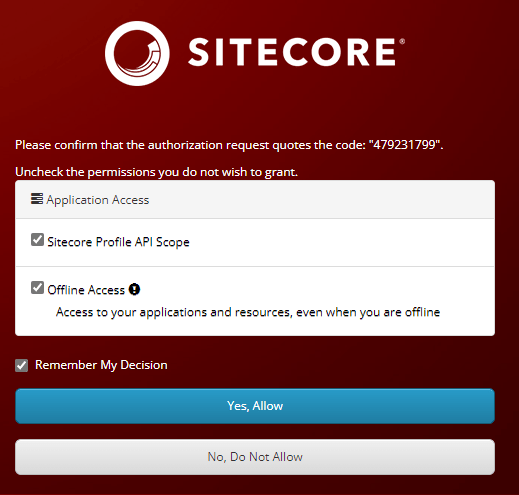
dotnet sitecore login --authority https://sc10identityserver.dev.local/ --cm https://sc10cm.dev.local --allow-write true
That all, good serialization 🙂

Deixe um comentário