NVM, short for Node Version Manager, is an essential tool for Windows users looking to manage multiple Node.js installations on their Windows-based machines.
To kickstart your journey with NVM, begin by downloading NVM for Windows from this source: https://github.com/coreybutler/nvm-windows
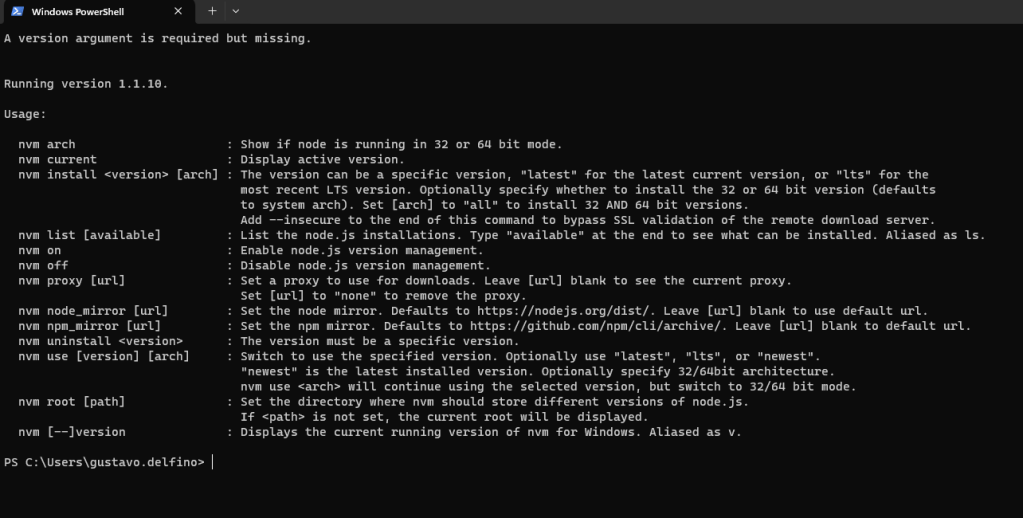
Next, open a Command Prompt or PowerShell in Administrator mode, and execute the following commands from your development or project directory:
$ nvm install
$ nvm use
After running the commands, you might encounter an error message like “Invalid version” or the expected functionality may not be achieved.
To address this, append $(type .nvmrc) to the end of the preceding command. For example:
$ nvm install $(type .nvmrc)
This adjustment will ensure that it performs as expected. If you still encounter issues, you might come across error messages like:
- “bash: type: .nvmrc: not found.”
- “Invalid version.”
To resolve this problem, take the following steps:
If you’ve previously installed a version of Node.js, it’s essential to uninstall it completely. Ensure that you’ve thoroughly removed it from your Windows system. You can refer to this guide on “How to Completely Remove Node.js from Windows” for assistance. Look this post, It’s to help uninstall: https://stackoverflow.com/questions/20711240/how-to-completely-remove-node-js-from-windows/20711410#20711410
Next, download both nvm-noinstall.zip and nvm-setup.zip from this location: https://github.com/coreybutler/nvm-windows/releases
Extract and run nvm-noinstall.zip in the first place. Then, extract and run nvm-setup.zip.
Now, open PowerShell or Command Prompt as an administrator to utilize the “nvm install” and “nvm use” commands.

Deixe um comentário